Saturday, July 9, 2016

GALLEY FLOOR

CLEAR AND SCUFF BOTTOM OF ALUMINUM WELL FOR ADHESIVE BONDING.
USING FLASHMATE ALUM TO ALUM ADHESIVE. CIVILIAN VERSION OF
WHAT'S USED ON THE ALUMINUM BODY F150'S.
THEN FROG (RIVET-RIVET) THE SHEET DOWN TIGHT
I'LL PUT A COUPLE DRAIN HOLE AND PLUGS IN LATER SO GALLEY WILL BE HOSEABLE DOWNABLE. ALSO, SCRAPS FROM FATIGUE MATS USED IN CABIN WILL BE USED HERE TO KEEP STUFF FROM SLAMMING.

FORMING MAIN WALLS

RAW ALUMINUM
ALL PIECES CUT AND NUMBERED FOR WELDER. MAIN STRUCTURAL PIECES 1" X 1" 1/8TH WALL. iNTERIOR (NONSTRUCURAL = 1/16TH WALL THIN)
OFF TO WELDER
JIGGED AND READY
HOME AND FIRST TILT UP
GRINDING DOWN BEADS IN CORNERS WHERE DOOR WILL GO
ROUGH SCUFF IN AND OUTSIDE FOR ADHESIVE BONDING
FORMING FRONT ROUND CORNERS FROM FOAM
SCREWED AND GLUED ON

 HI TENSILE 1" PINK FOAM
THE REAR VESTIBULE LOWER CROSS PIECE HAS TO BE COUNTERSUNK FLUSH
SCREWS SO DOOR WILL CLOSE. THE OTHER PANELS CAN BOLT TO FRAME.
INSIDE WALL AND ROOF INSERT WILL BE SECURED WITH SCREWS
FROM OUTSIDE. HAVE TO BE COUNTERSUNK FLUSH SO NOT PROTRUDE
AGAINIST ALUMINUM OUTER SKIN. DRILL SLOWLY AND CAREFULLY IN STEPS.
NOTICE LITTLE TOOL GAUGE I MADE TO DEPTH MEASURE EACH ONE.
WHILE I WAS AT IT, I ADDED A COUPLE OF EXTRA PIECES IN CASE I EVER WANT TO DO A SET OF CROSS ROOF MOUNTS
CANVAS INNER WALL SKINNING. TIP, HAVE PLENTY OF CLAMPS AND HAVE THEM ORGANIZING FOR QUICK GRABBING. PROCEDURE: CUT FABRIC ROUGH SHAPE. ALLOW SEVERAL INCHES ALL THE WAY AROUND. STRETCH WELL AND CLAMP ONE END. FLIP FABRIC BACK EXPOSING FRAME MEMBERS. SPRAY WITH ADHESIVE. I USED 3M #71. LET SET TILL TACKY. CAREFULLY LIFT FABRIC NOT LETTING IT TOUCH. PULL UP AND LENGTHWISE UNTIL GOOD AND TAUT THEN LAY DOWN AND CLAMP IN CENTER. GO TO EACH SIDE, PULL TAUT SET AND CLAMP IN CENTER. PROCEED IN A PATTERN OF STRETCHING AND CLAMPING IN CENTERS UNTIL ALL WRINKLES ARE OUT. GO AROUND A COUPLE OF TIMES LET SET. ONLY SPRAY AND CLAMP THE TOP
FRAME ALUMINUM SURFACE. WEARING RUBBER GLOVES RUN THUMB AROUND PRESS SQUEEZE GLUE AND FABRIC UNTIL GLUE SQUISHES UP INTO AND SATURATES FABRIC. LET DRY. TURN OVER, REMOVE CLAMPS. SPRAY ADHESIVE AND I" OF FABRIC ALL THE WAY AROUND. LET GET TACKY THEN FOLD FABRIC OVER AND ATTAIN A BOND OF THIS SECOND SIDE. GLOVE AND SQUISH. LET DRY WELL.
RAZOR BLADE OFF EXCESS FABRIC. YOU SHOULD HAVE A STRONG 2 EDGE BOND. IN A WARM TEMP USE A HAIR DRYER OR IRON TO PASS OVER ENTIRE FABRIC LETTING IT DRAW VERY TIGHT. i USED A HEAT GUN FROM HARBER FREIGHT. VERY HOT AND HAD TO KEEP MOVING SO AS NOT TO SCORTCH...BUT IT WORKED GREAT. THIS IS HOW LIGHT AIRCRAFT ARE SKINNED. I THEN COATED WITH OLD FASHIONED AEROPLANE (NITRATE) DOPE TO FURTHER DRAW AND TIGHTEN. I DON'T KNOW IF YOU CAN STILL BUY THE STUFF. THEN A GOOD COAT OF PRIMER AND A COUPLE COATS OF GLOSS WHITE FOR MY LIGHT INTERIOR.
SIDE WALLS WEIGH 22#'S PER SIDE
MORE ON WALL SKINNING ON THE INSIDE WALLS SEGMENT


Wednesday, June 1, 2016

JUNE 1..........SOME PROGRESS

All wiring loomed. #8 Red will be charge hot.
First shakedown. Hoping for 225-230 pounds.220#'s on the dot.
Goes straight.
Can't find Chrome center cap for 2.08 firment
Painted instead.
Chrome lug nuts. M12 acorn.
Made an attachment tool from old funnel so I wouldn't
have to pound on cap to seat it and damage it.


Thursday, May 26, 2016

WIRING

Running a seperate white ground wire
on a perimeter circuit (via Mad Dog from the forums).
Each light has wire colors not in synce with
standard colors on the harness. Changed each one
to match spec.
Will also, add a red constant hot circuit for kitchen, reading, etc. 
More later.
All wiring in spaghetti tubing and snap on holders
are what they use to hold bundles in new cars. 
Needs a 1/4" hole drilled. Available at NAPA.
Will make for Ez repairs and upgrades/ add-ons/etc.

LIGHTS

Using can over cab ambers. Like the classic
funk-o-steampunk effect.
Notice: set up a second wire/white/ground.
More later on that.
LED stop tail. Ebay. Very clean, bright. Nothing sticking
out to attack shins in darkness.

FENDERS

Inside, coat of bedliner
Outside, couple of coats of hard gloss wheel clear
Flipping the axle requires new holes for
fender mounting plates
Fender will ride about a inch higher


AXLE

Gave the spindle a good cleaning with emory cloth.
Loaded the hubs completely full of good grease.
Used double Nyloks and thread covers

MORE WHEELS

First, you gotta spin 'em
Then, a bit of steady hand. Used One Shot sign paint
thinned about 30%
Pretty fair, not Von Dutch quality

Saturday, May 14, 2016

WHEELS

Prep is a good scuff with 3M
red pad, clean with lak thinner.

SLIPPER SPRING SNUBBERS

Maybe this will stop the noise
on the frame from the slip spring
loss end. Old tire sidewall and JB Weld.


Good surface prep, sanding, and clamping should hold
it.


COATING FRAME

Painting with bedliner material is not 
the right term. Slathering doesn't quite
match the process. let's see......
slab-slobbering....yeah that's it.
Weird stuff......use gloves. When it dries it's impervious
to every solvent.
When it's on the ground I think the big, flat exposed
surfaces should get a finish coat of a very thinned out
mix with a short knapped roller.

FINAL FRAME AND WELD

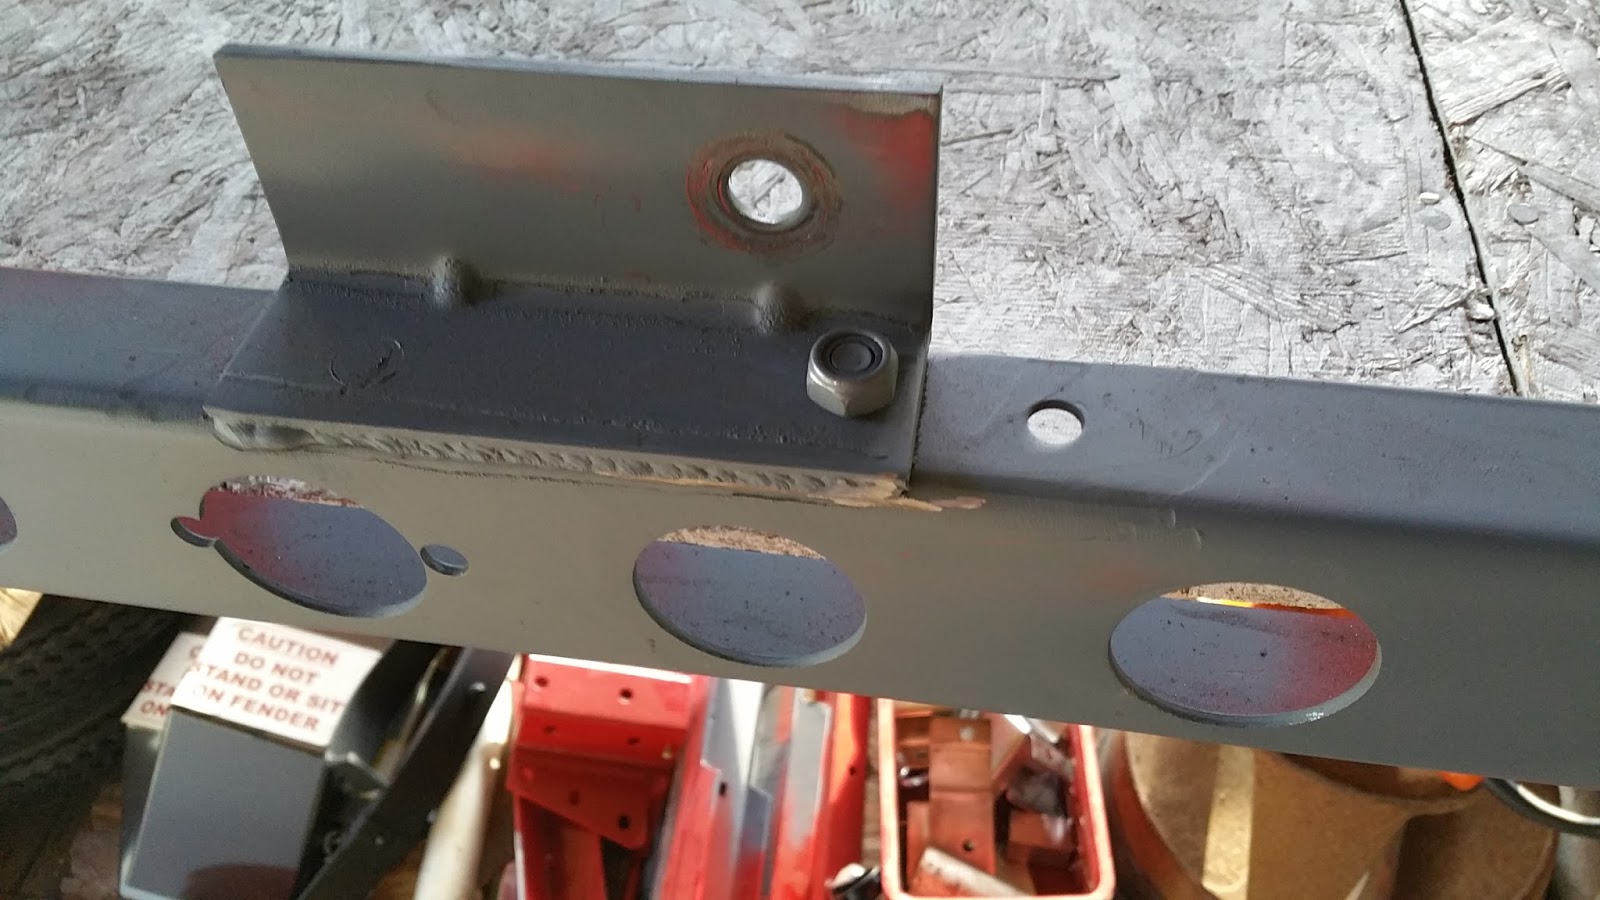
Going to use both bolts and weld.
Just a little bending was necessary to square tongue.

Saturday, April 23, 2016

Opps

Welded one tongue bracket in wrong hole.
Have to cut off, reposition and reweld.

REAR SPRING MOUNTS

Notched for axle flip
Removing folding/caster mount
for weight  reduction

Clamping springs prior to unbolting not necessary.
They don't unload and go boing.
Removed locating pin. Taking out small spring.
Clean rust and scuff entire spring prior to an extra coat of paint.
Flip locating pin over. reassemble with double nut/lock washer
and Locktite.
Found this 3" x 1/4" Hard Rubber washer
in my junk drawer. Watch.


Well greased and installed should remove
slack and spring play rattle.
One leaf removed.
Locate pin reversed.
Extra paint.
Will both and weld to frame.
Not changing wheelbase. With this light weight
it shouldn't be necessary.